
Training room screens can look simple on the surface, but the setup behind them decides whether the room feels polished or frustrating.
A display that freezes, overheats, or sits at the wrong height will distract people faster than any weak presentation. Good planning fixes that before the first cable is even pulled.
A strong training room digital display setup comes down to three things working together: clean networking, safe mounting, and power that stays stable when the room gets busy.
Manufacturers and infrastructure vendors keep repeating the same message in different ways, the display should fit the network, the mount should match the hardware, and the power plan should leave room for growth.
That is the difference between a room that works today and one that still works a year from now.
Start with the room before you choose the hardware
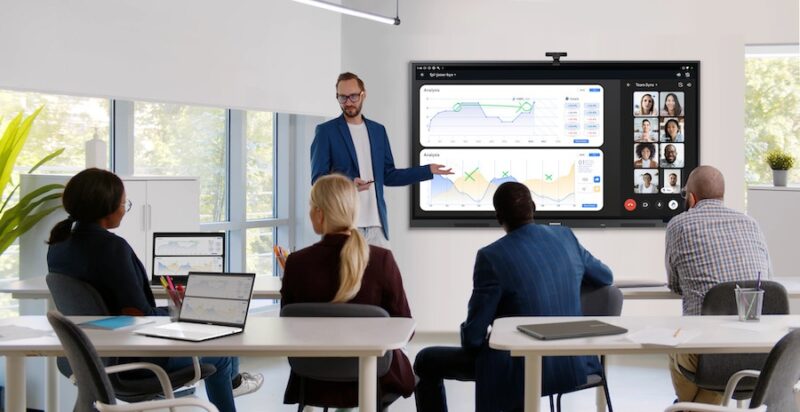
Before comparing panel sizes or brackets, look at how the training room is actually used. Is the display mainly for slide decks, software demos, hybrid meetings, or video based instruction? That answer affects networking demand, screen position, cable access, and power backup needs.
Cisco notes that digital signage and media endpoints can place very different demands on the network depending on content type, and that is a useful reminder for training spaces too. A room showing static dashboards behaves very differently from one pushing video or synchronized content across multiple screens.
The smartest setups begin with use case, sightline, and service access, then move to equipment selection.
That order keeps you from buying a powerful display and later realizing the wall, switch, or electrical path was never ready for it.
Build a reliable network foundation first
A display in a training room is not just a screen, it is an endpoint that has to reach content, updates, control systems, and sometimes cloud dashboards.
Cisco documentation shows that these devices commonly rely on DHCP during initial setup, while static addressing requires proper DNS and routing details to keep centralized management working as expected.
That matters when IT teams want predictable monitoring and remote troubleshooting. In rooms that also run scheduling panels, wireless sharing, or signage style content, keeping display traffic organized becomes even more important.
If your team also manages group fitness or coaching environments, software platforms such as Crossfit Software show how much value comes from a clean display and control workflow, especially when schedules, attendance, and performance data need to appear clearly in shared spaces.
Mounting decisions affect comfort, safety, and long term reliability
Mounting tends to get treated like the final install step, but it really belongs in early planning. VESA’s FDMI standard exists precisely because guessing with hole patterns and bracket compatibility creates unnecessary risk.
The standard covers a broad range of display sizes and supports multiple mounting applications, including wall and mobile use.
On top of compatibility, ventilation has to stay in the picture. Sharp NEC installation guidance for large format displays specifies minimum ventilation space and warns against closing off the front of the opening.
That kind of detail is easy to ignore when a room is being designed around aesthetics, yet it has a direct effect on heat buildup and display lifespan.
A sleek training room should still leave enough breathing room around the panel and enough access for technicians to work safely.
Use standards, not guesswork, when you mount the display
Here is the practical way to think about mounting in a training room digital display setup.
First, match the display’s VESA pattern and weight to the bracket.
Second, confirm that the wall structure can actually support the combined load.
Third, leave proper clearance for cooling and service. VESA says FDMI spans displays from small panels up to 90 inches and defines standardized interfaces for mounting equipment makers.
Sharp NEC’s installation material for a 65 inch display shows 10 cm, or 4 inches, of clearance around the display as a minimum ventilation requirement in that model guide.
| Checkpoint | Why it matters |
| VESA pattern match | Prevents bracket mismatch |
| Wall type and anchor choice | Protects against pull out risk |
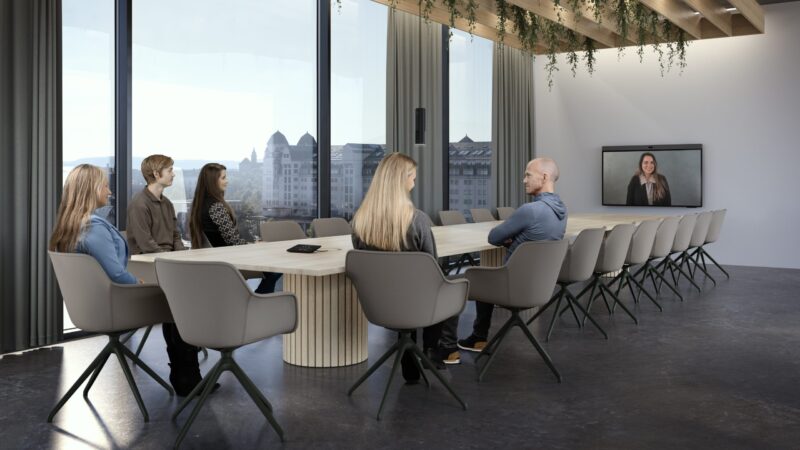
| Viewing height | Reduces neck strain during long sessions |
| Ventilation clearance | Helps avoid heat related failures |
| Rear access space | Makes service and cable swaps easier |
That table may look basic, but it catches most of the expensive mistakes. When a display sits too high, too tight to the wall, or on a mount chosen by screen size alone, the room starts feeling wrong even if the picture looks sharp.
Power planning should make maintenance easier, not harder
Power is where a lot of otherwise good installs fall apart. One outlet behind the screen may keep the display on, but it does not automatically support a media player, control box, switch, or future accessory.
Eaton’s sizing guidance recommends listing connected equipment, totaling the VA requirement, and then adding at least 15 percent growth over a five year period.
That is a useful discipline for training rooms because these spaces almost always gain something later, maybe a wireless presentation device, maybe a camera, maybe a small compute box for dashboards.
Eaton also draws a clean distinction between a UPS and a PDU. A UPS provides battery backup and surge protection, while a PDU distributes power efficiently to multiple devices in a rack or enclosure. That separation helps teams avoid messy, daisy chained power strips.
Plan for backup power, clean distribution, and service access
Once you know the load, the next step is keeping the system recoverable. A small UPS can protect the display control chain from short outages and power noise, while a proper PDU gives you cleaner distribution if the room uses a cabinet or wall box with several devices.
Eaton notes that many PDUs are designed specifically to distribute amperage evenly and efficiently across multiple connected devices, and that UPS units protect against outages, surges, and line noise.
That combination is exactly what training rooms need when sessions cannot stop for every minor power event.
Important planning note: if a room needs regular service, leave slack for cable replacement and enough physical access to disconnect power safely without unmounting the screen. Good serviceability is part of good uptime.
A dependable finish usually comes from a short checklist: separate signal and power neatly, label both ends of every cable, reserve electrical capacity for add ons, and never bury the display so tightly that a technician cannot reach the inputs.
That is how a setup stays useful instead of becoming a wall mounted headache.
Conclusion

A strong training room digital display setup does not happen because the display itself is impressive. It works because the room was planned as a system.
The network is stable, the mount matches the wall and the screen, and the power path has enough headroom to stay calm under real use.
That kind of planning is not glamorous, but people notice the results immediately.
Sessions start on time, the screen stays readable and cool, and the room feels ready rather than improvised.
For a tech focused website, that is the real takeaway: better display rooms are usually built through boring, thoughtful decisions made early, and those decisions save the most time later.